Friday, June 4, 2010

Whole Wheat Oatmeal Chocolate Chip Cookies

I love these cookies because they're a bit lighter thanks to the applesauce that replaces some butter, and they've got some fiber thanks to the whole wheat flower and oats. BUT they don't taste like it!!! You're just going to have to trust me until you try them. But if you can't take my word for it, check HERE for a second opinion. :)


Whole Wheat Oatmeal Chocolate Chip Cookies
Adapted from the Sisters' Cafe

1 ¼ cups brown sugar
1 ¼ cups sugar
1 cup butter
1/4 cup applesauce
3 eggs
1 teaspoon vanilla extract
1 ¼ teaspoon baking soda
1 ¼ teaspoon baking powder
1 ¼ teaspoon salt
2 ½ cups wheat flour
2 ½ cups oats
2 ½ cups semisweet chocolate chips

Cream butter and sugars until light and fluffy. Beat in eggs and vanilla. Mix in dry ingredients and then chocolate chips. Scoop rounded tablespoonfuls onto ungreased baking sheets. Bake at 350 for 10 minutes. *Makes 3-4 dozen.

**I love oatmeal cookies with butterscotch chips!! (I made some of both, because the hubs likes chocolate chips better.)

Saturday, May 29, 2010

Roasted Cauliflower

Hi all! Hope you're enjoying your memorial day weekend! Ryan, the hubby, gets two days off for summer holidays (an attempt by his firm to compensate for the madness that is busy season), so we're trying to savor every moment. Few things give me more joy than watching my toddler have fun! I wish you could have seen him go streaking across the park in just his swimming trunks when the water features turned on. So stinkin' cute!

Anyway, back to the real point of this blog... I am infatuated with roasted cauliflower! Jane, from the fabulous This Week for Dinner, shared the idea, and I've been addicted ever since. It's healthy, easy, and seriously so good! The next time I feel like eating pasta, I'm just going to make this instead. :)

Roasted Cauliflower
1 head of cauliflower, broken up
a few tablespoons of olive oil
salt and pepper (fresh ground is best)
2 tablespoons grated parmesan cheese

Preheat to 400 degrees.

Place cauliflower on a baking sheet. Drizzle with olive oil; add salt and pepper. Toss cauliflower to lightly coat with the oil and seasoning.

Roast for about 25 minutes. Stir once or twice during cooking. Check for doneness with a sharp knife, to the point where you can pierce the cauliflower fairly easily but not to the point of mushiness. Remove from oven and toss with grated parmesan cheese.

*Today was the first time I added a few pieces of broccoli. It roasted better than I was expecting!


...And why not add these photos while I'm at it??

Is it weird to be proud of your child for making off with not one, but two of those people's balls? haha They were actually really nice and let him "play" with them to his heart's content.


Monday, May 24, 2010

Red Wine Vinaigrette

Can you believe it—another salad! I know, you're shocked. If only losing weight was as easy as posting four salads in a row. :)


This is a delicious vinaigrette, definitely worth whipping up ASAP. I rarely buy bottled dressings because I love the control of making my own; I can know exactly what goes into it. I think this vinaigrette would pair well with tons of salad variations. For a fabulous salad using this dressing, check out it's original posting on my virtual friend Melanie's blog. (I'm so cool. I have virtual friends. :) The salad pictured above is simply some mixed greens, cherry tomatoes, red onion rings, and feta cheese. I loved it.

Red Wine Vinaigrette
2/3 cup red wine vinegar
1 1/2 cups sugar
1/4 cup red onions, finely grated
2 tablespoons Dijon mustard
2 teaspoons salt
ground pepper to taste
2 cups canola oil

Blend all ingredients except oil in a blender. BWhile processing, slowly add the canola oil and blend well. Transfer dressing to a jar. Can be refrigerated for 1-2 weeks. (Melanie found it gets a little thick if it is too cold, so she recommends sticking it in the microwave for 5-10 seconds to help thin it out before using if it has been in the refrigerator for several days).

But like I said, do check out the original post because those ingredients—bacon, pears, parmesan, etc.—make one fabulous salad. Trust me.

Monday, May 17, 2010

Chinse Chicken Salad

Told you the salads would keep coming... :) Three in a row!


You've probably had a variation of this salad, but this particular recipe is the best, in my opinion. I originally got the recipe in BYU's cooking class, but I've adapted it to perfectly suit our family's tastes. It's tangy and crunchy and pretty to look at. :) Btw, do I cook anything that doesn't involve cilantro? Definitely my all-time favorite ingredient.

Dressing:
1/2 cup canola oil
1 Tablespoon sesame oil
6 Tablespoons vinegar
1/4 cup sugar
1 packet of chicken flavored Ramen seasoning
1/4 teaspoon salt
1/2 teaspoon pepper

Salad:
1 bunch of green onions, sliced
half a head of cabbage, sliced (I use both purple and green for the color)
1 small bunch of cilantro (or half of a larger bunch - to taste)
1/3 cup slivered almonds
1 Tablespoon sesame seeds
1 package Ramen noodles
1 can mandarin oranges, drained (not pictured)
1 boneless skinless chicken breast, cooked and sliced

Combine the dressing ingredients by whisking vigorously. Refrigerate.

Break up the Ramen noodles into small pieces and place on a baking sheet. Add sesame seeds and almonds. Broil under high heat for 2-3 minutes, or until golden. (Watch carefully to avoid burning.)

Prep vegetables and assemble the salad.

Erica's Notes
  • The chicken can be prepared any way you like. When I'm grilling chicken, I like to grill extra to have on hand for meals like this. It makes this salad super easy to throw together if you already have a grilled chicken breast in the fridge, ready to slice and place on top of the salad. Or you could skip the chicken altogether if you're serving this salad as a side dish, rather than a main dish.
  • I skip toasting the almonds because almonds are healthiest raw.
  • Did you know cabbage is totally a power vegetable? This is a great way to get your family to eat it! I recently read this article and have been trying to pack more (and different) vegetables into our diet.

Tuesday, May 11, 2010

Chipotle Chicken Taco Salad

My reference to Chipotle in this post has nothing to do with the restaurant this time, just the chiles. :) I love southwestern salads and am always on the lookout for something new. The chipotle chiles in adobo sauce give this salad a deep, smokey flavor, as well as a spicy kick. The avocado and light sour cream make it creamy and also balance out the heat from the chiles. Our family loved it, even the toddler! (I'm conditioning him to like spicy foods like his dad and I do, and so far it seems to be working!)

I dress our salads pretty lightly. To get a better idea of what it probably should look like, check out Cooking Light's photo of it.

Chipotle Chicken Taco Salad
From Cooking Light

Combine the following for the dressing:

1/3 cup chopped fresh cilantro
2/3 cup light sour cream
1 tablespoon minced chipotle chiles, canned in adobo sauce
1 teaspoon ground cumin
1 teaspoon chili powder
4 teaspoons fresh lime juice
1/4 teaspoon salt

Combine for the salad:

4 cups romaine lettuce
2 cups sliced chicken breasts (about 2 breasts)
1 cup cherry tomatoes, halved (or regular tomatoes, diced)
1/2 cup diced peeled avocado
1/3 cup thinly sliced red onion
1 (15-ounce) can black beans, rinsed and drained
1 can corn, rinsed and drained (or defrosted frozen corn)

I seasoned the chicken with cajun seasoning and salt & fresh-ground pepper. Then I grilled it. Mmmm!


By the way, you may be seeing a lot of salads around these parts while I work off my baby weight. (MUST. KEEP. SWEET. TOOTH. AT. BAY.)

Saturday, May 8, 2010

Lime Fajita Bowl

Whenever we go to Chipotle, we get the chicken burrito bowl. It's loaded with vegetables and fresh salsa and guacamole, and we skip the fat that's in the tortilla. (Not that I'm above eating a good, thick tortilla every now and then, because I'm not!) Today's meal was born from the burrito bowl concept, and I could not love it any more. I've said it before, but I'll say it again: It's ridiculous how happy a good meal makes me. I'm pretty sure this one will make you happy too. :)


As usual, my proportions aren't huge, so you may want to double it if you're feeding more than, say, three adults.

Marinate the following for at least 1 hour:
2 boneless skinless chicken breasts
juice and zest of 2 limes
1/4 cup canola oil
half of a packet of Italian seasoning
1 onion, cut into rings
1 green bell pepper, sliced

Salad ingredients:
3 leaves of romaine lettuce, sliced into small pieces
1-2 tomatoes, diced
half a bunch of cilantro
1 small onion, diced
1 avocado (to make a simple guacolole)
1 lime
half a can of black beans, rinsed
  • After marinating, grill the chicken and vegatables. (We have a grill attachment that is more like a skillet. If you don't have something similar, you may have to saute the veggies over the oven, but that's okay too!) Once cooked, let the chicken cool for a few minutes, and then slice.
  • Assemble salad ingredients in a serving bowl. Layer on sliced chickn and grilled onions & peppers. Warm up black beans in microwave; add to salad. Toss.
  • Make a simple guacomole by smashing avocado and adding lime juice and salt and pepper. (Or use store-bought guacolmole.) Spoon guacomole over the top. (Add sour cream or grated cheese if you wish.) Squeeze one lime over the top of the salad.

This is a super healthy meal that is absolutely packed with flavor—the smokiness of the grill and the brightness of the lime juice. If you try it, please let me know what you think!

Tuesday, April 20, 2010

Thick and Chewy Chocolate Chip Bars

Hi all! Things are going well here. I'm happy to report that I am loving having two kids. Baby C is already two months old and remains a very content baby. Toddler T has more energy than I know what to do with, but I am loving this stage. He's 20 months old and makes us laugh all the time with the things he does and the words he picks up. Aren't they handsome?


Now on to my second favorite subject . . . Dessert! This is a new favorite of mine. Confession: I made it twice in one week. My only excuse is that both times I gave some of it away.

My husband can be picky about his sweets. I have a serious sweet tooth that requires a lot of curbing, but sweets don't tempt him like they do me. (Lucky man.) But this cookie bar did him in. They are just like their name describes—thick and chewy, with a slightly crispy exterior. I was only able to snap a couple of photos before my camera died, so check out more photos here at Mel's Kitchen Cafe.

Don't let this unassuming cookie bar fool you. Seriously, so yummy!

Thick and Chewy Chocolate Chip Bars

From Mel's Kitchen Cafe (Thank you again, Melanie!)

2 1/8 cups (10 1/2 ounces) all purpose flour
1/2 teaspoon salt
1/2 teaspoon baking soda
12 tablespoons butter (1 1/2 sticks), melted and cooled slightly
1 cup (7 ounces) light brown sugar
1/2 (3 1/2 ounces) cup granulated sugar
1 large egg
1 large egg yolk
2 teaspoons vanilla extract
2 cups chocolate chips (use your preference of semisweet, bittersweet, milk, white, peanut butter…the options are endless!)

Preheat the oven to 325. Adjust the oven rack to lower-middle position. Line a 9X13-inch baking pan with foil, letting the excess hang over the edges of the pan by about 1 inch so you can grab those edges and pull the brownies from the pan after they have baked. Spray the foil-lined pan with nonstick cooking spray.

Mix the flour, salt, and baking soda together in medium bowl; set aside. Whisk the melted butter and sugars in a large bowl until combined. Add the egg, egg yolk, and vanilla and mix well. Using a rubber spatula, fold the dry ingredients into the egg mixture until just combined; do not overmix. Fold in the chocolate chips and turn the batter into the prepared pan, smoothing the top with the spatula.

Bake until the top of the bars is light golden brown, slightly firm to the touch, and edges start pulling away from sides of pan, 24-28 minutes. (It took 31-32 minutes in my oven) Cool on a wire rack to room temperature. Remove the bars from the pan by lifting the foil overhang and transfer them to a cutting board. Cut into 2-inch squares and serve.

Wednesday, March 3, 2010

Baby C


I dropped off the chart there for a bit...I've been a little busy welcoming this handsome guy into the world! He's almost two weeks old, he's sleeping better than I had dared hope at this age, and he is just a generally easygoing boy!

Hope all is well with each of you! I'll be back soon - I can't wait to get back in the kitchen!

Tuesday, February 9, 2010

Vanilla Frozen Yogurt

This is a no-fail recipe for frozen yogurt that is sure to please. It's really creamy, just slightly tart, and would make a great base for some creative mix-ins or toppings.


I got this recipe from 101 Cookbooks, and she says it rivals Pinkberry's frozen yogurt. I can't say since I've never had it, but I will say that I loved the recipe. Hop over here for details.

Friday, January 29, 2010

I Love This Lasagna

It's painful to put this photo up, but without any natural light, this was the best I could do. Oh well! You all know what lasagna looks like anyways!

I was DELIGHTED with how this recipe turned out. Seriously, it was kind of pathetic how happy it made me. But there's little worse in my book than spending an afternoon making a rather elaborate dinner only to have it flop. Thank goodness, that was not the case yesterday!


I chose this recipe because it earned 5 stars from 272 reviewers on foodnetwork.com. Thank you, Ina Garden, for a restaurant-quality lasagna minus the joy (read: hassle) of trying to entertain the toddler while at said restaurant. :)

Turkey Lasagna
2 tablespoons olive oil
1 cup chopped yellow onion (1 onion)
2 garlic cloves, minced
1 1/2 pounds sweet Italian turkey sausage, casings removed
1 (28-ounce) can crushed tomatoes in tomato puree
1 (6-ounce) can tomato paste
1/4 cup chopped fresh flat-leaf parsley, divided
1/2 cup chopped fresh basil leaves
2 teaspoons kosher salt
3/4 teaspoon freshly ground black pepper
1/2 pound lasagna noodles
15 ounces ricotta cheese
3 to 4 ounces creamy goat cheese, crumbled
1 cup grated Parmesan, plus 1/4 cup for sprinkling
1 extra-large egg, lightly beaten
1 pound fresh mozzarella, thinly sliced

Preheat to 400 degrees.

Heat the olive oil in a large skillet. Add the onion and cook for 5 minutes over medium-low heat, until translucent. Add the garlic and cook for 1 minute. Add the sausage and cook, breaking it up, for 8 to 10 minutes or until no longer pink. Add the tomatoes, tomato paste, 2 tablespoons of the parsley, the basil, 1 1/2 teaspoons of the salt, and 1/2 teaspoon pepper. Simmer, uncovered, over medium-low heat, for 15 to 20 minutes, until thickened.

Meanwhile, fill a large bowl with the hottest tap water. Add the noodles and allow them to sit in the water for 20 minutes. Drain. (Or skip this and use no boil noodles!!)

In a medium bowl, combine the ricotta, goat cheese, 1 cup of Parmesan, the egg, the remaining 2 tablespoons of parsley, remaining 1/2 teaspoon salt, and 1/4 teaspoon pepper. Set aside.

Ladle 1/3 of the sauce into a 9x12 baking dish, spreading the sauce over the bottom of the dish. Then add the layers as follows: half the pasta, half the mozzarella, half the ricotta, and one 1/3 of the sauce. Add the rest of the pasta, mozzarella, ricotta, and finally, sauce. Sprinkle with 1/4 cup of Parmesan. Bake for 30 minutes, until the sauce is bubbling.


My alterations:
  • Do yourself a favor and use no-boil noodles. It makes lasagna so much easier!
  • Despite the name, Turkey Lasanga, mine didn't actually have any turkey in it... I had ground beef and spicy Italian sausage on hand, so that's what I used. I liked the slight kick the spicy sausage gave it, and I also added a 1/4 red pepper flakes.
  • 1 1/2 pounds would be plenty of meat for this dish. I reduced to a pound and was happy I did.
  • I used shredded mozzarella instead of fresh (convenience). No regrets.
  • Though the recipe is meant for a 9x13 pan, I divided mine into two disposable 8x8 pans, one of which I froze for when the baby comes. (Yay!)

Monday, January 25, 2010

Cherry Bar

I'm shocked I've never posted this before, as it is one of my go-to desserts. It's not exactly New Year's resolution friendly...well, unless your resolution is to eat well and live it up! But it is sweet, rich, and slightly tart; it's perfect for bringing to an event because it feeds (and pleases) a crowd; and it can be made ahead of time. If you're really lucky, you may even be able to bring a piece home afterward!


Cherry Bar
1 1/2 cups butter, softened
2 1/2 cups sugar
1 1/2 teaspoon vanilla
6 eggs
4 1/2 cups flour
2 teaspoons baking powder
1/2 teaspoon salt

2 cans cherry pie filling
1 teaspoon almond extract.

Cream butter and sugar. Stir in vanilla and eggs. Stir in dry ingredients. Spread a thin layer of batter in the bottom of a baking sheet. Combine cherry pie filling and almond extract. Layer the cherry mixture over the batter. Top with remaining batter and spread as evenly as possible. Bake at 375 for about 20 minutes, or until lightly gold on top.

Allow to cool in baking sheet. In the meantime combine the following icing ingredients:

2 Tablespoons melted butter
3 cups powdered sugar
1 teaspoon vanilla
6 Tablespoons milk

Poor the icing over the cherry bar once it has cooled. Slice and serve!

Friday, January 8, 2010

Cheesy Baked Faralle

One of my New Year's resolutions is to be a more efficient cook. With the second baby on the way, my meals are going to have to get streamlined if I'm going to have a chance of getting dinner on the table. I don't know how all you moms with big families do it! Hopefully I'll get the hang of it with practice.


So I was happy to see how few steps are in this recipe by the Food Network's Giada. Plus, it's delicious—a lightly creamy red sauce, thanks to the addition of mascarpone cheese, with gooey smoked mozzarella on top. It was perfect for taking to a friend who just had a baby because I could make it during T's naptime, stick it in the fridge, and take it to her cold so that she can pop it in the oven whenever she feels like it. Easy breezy.

Cheesy Baked Farfalle
Adapted from Giada's Cheesy Baked Tortellini

2 cups marinara sauce
1/3 cup mascarpone cheese
1/4 cup chopped fresh Italian parsley leaves
2 teaspoons chopped fresh thyme leaves
1/2 pound farfalle pasta
1 cup mozarella cheese, grated
1 cup smoked mozarella cheese, grated

Preheat the oven to 350 degrees F. Lightly oil an 8 x 8 by baking dish.

Cook the farfalle in a large pot of water for about 7-8 minutes. (You want to leave it slightly undercooked because it will bake in the oven.) Drain well. Whisk together the sauce, mascarpone cheese, parsley and thyme. Add the pasta to the sauce and toss to coat. Transfer the pasta mixture to the prepared baking dish. Top the mixture with the smoked mozzarella and regular mozarella.

Cover with foil and bake for about 10 minutes. Remove the foil and let cook until the cheese bubbles and is slightly golden, about another 10 minutes.

Thursday, November 19, 2009

Good News for Pizza Lovers!

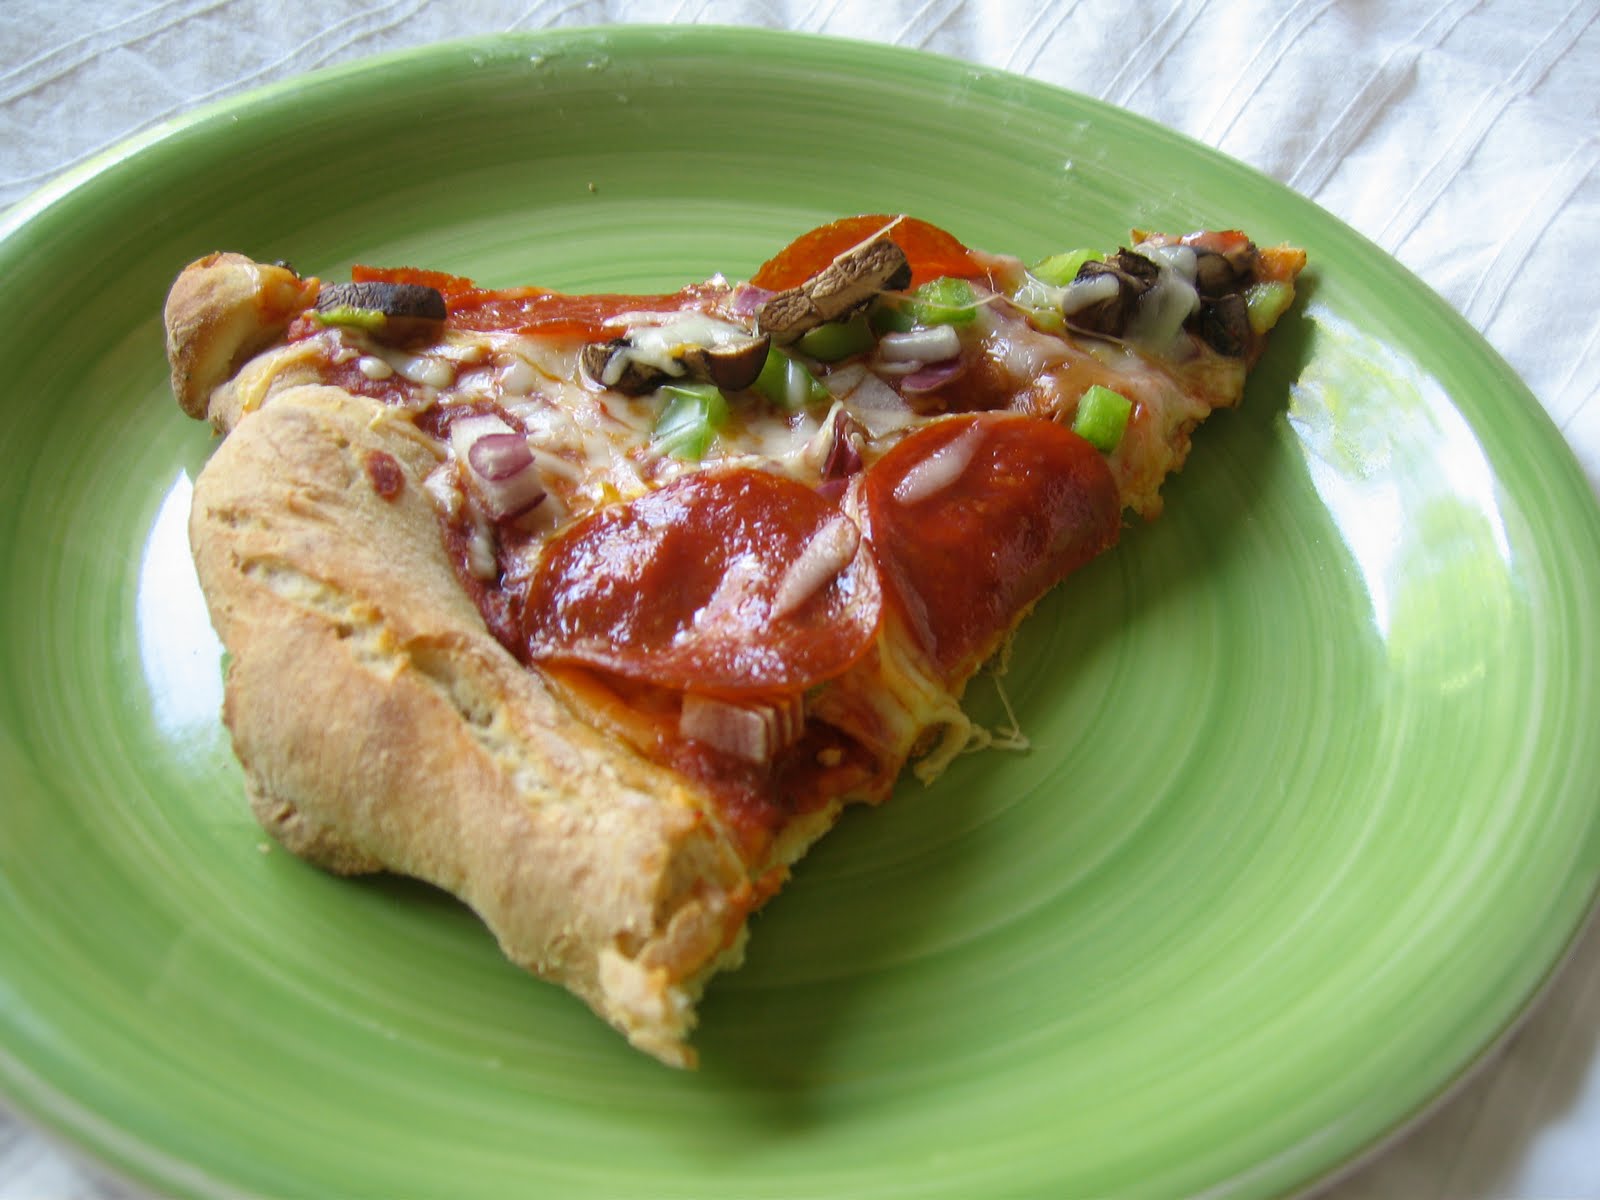
The other day, a friend told me she had successfully baked her homemade pizza on parchment paper—which entirely eliminated the oh-so-awkward transfer of the pizza from the peel to the stone. Of course, I couldn't resist trying it immediately, so I did, and (drumroll please) she was right!


Preheat oven to 425. Simply spread some parchment paper over your pizza peel, sprinkle cornmeal, roll out the dough, and add toppings. Roughly trim the edges of the paper to about an inch from the crust, creating a circle instead of a square of parchment paper underneath the dough. Then relish the ease with which you slide the pizza onto the preheated stone!

The only disadvantage is that you can't crank the oven up as high, because parchment paper isn't meant to be heated above 425. But especially if you place the stone on the bottom rack, you should have no problem getting a nice, crispy crust nonetheless.

Just so no one sues me if the parchment paper somehow ignites in your oven, please keep an eye on it the first time you try this. Don't throw the pizza in the oven and leave for 40 minutes. (But really, who would do that??)

Monday, November 9, 2009

Jamba Juice's Blackberry Bliss?

I can't claim this is exact, but I don't think you'll miss the resemblance in flavor when you try it. The Blackberry Bliss is my husband's favorite at Jamba right now, so we had to give it a whirl at home. Plus, what's better is that it's WAY healthier! Thanks to the spinach and ground flax (which you won't notice!), you won't even feel guilty slurping this baby down!


First, puree the following in your blender:
2 cups spinach
1/2 cup water

Add the following, and begin pulsing.
1 1/2 cups frozen strawberries
1/2 cups frozen mixed berries
6 blackberries
1/2 cup pineapple
1/4 cup yogurt
1/4 cup sugar (plus a couple of Tablespoons, depending on how sweet you like it.)
3 Tablespoons ground flax

Lastly, add water and blend to get the smoothie to the right consistency (I'll say about 3/4 cup, added gradually. But that will depend on whether all of your fruit was frozen or not.)

Let me know what you think!

Maybe this will help negate all the nutella I've eaten lately...

Sunday, October 18, 2009

Hot Chocolate

Happy Sunday! I made sugar cookies tonight. Someone please remind me next time I want to make them to just wait until my kids are old enough to enjoy it. The millions of steps with a clingy, grabby toddler is just not worth it! I was amazed at how many cookies that kid managed to stick his hands in, even when I thought they were out of reach! (He also somehow grabbed my cell phone and threw it squarely into a freshly frosted cookie...but hey, that's just life with a toddler!)

So, as chilly weather is slowly but surely coming my way, I am elated the hot chocolate season is beginning! My new obsession is perfecting the art of GREAT hot chocolate. We used to frequent Hatch's Family Chocolates in Salt Lake City and the South Bend Chocolate Cafe when we lived in South Bend, Indiana. Their hot chocolates taste like straight-up melted European chocolate. (None of this Hershey's stuff.) Mmmmmm!

Thank you, Google Images, for the photo. It was too dark to take a photo of my concoction last night.

So far, this is what I've learned about making fabulous homemade hot cocoa.
  1. Start with a chunk of GREAT chocolate. We just bought a few ounces of Gittuird __ at our beloved Milk Pail in Palo Alto. (Amazingly, the chocolate cost $1.45) Cut the chocolate into small pieces.
  2. Put milk and chocolate slivers in a small saucepan—about 1 ounce of chocolate per cup of milk. Add a couple of T. sugar, depending on your sweetness preference.
  3. Heat milk until it is hot but not bubbling. Stir frequently.
  4. Toward the end, add a bunch of mini marshmallows and allow them to melt partially so the cocoa gets good and frothy!
  5. Serve with a cinnamon stick for stirring. Enjoy!

And as a side note... It's a boy!

Tuesday, September 29, 2009

Homemade Cinnamon Applesauce

...with an announcement on the side!


Hi everyone! I can't tell you how much I've missed frequently updating this blog...But there's not a lot I can do because nothing I can make ever sounds good and what I do make usually doesn't turn out. If you don't already know, I'm expecting again! We are excited!

My pregnancy has been nothing to complain about by any means, but I so miss COOKING! I scour food blogs for meals that sound good, but rarely does something strike my fancy. Interestingly, all food outside of this house sounds delicious... As long as I don't have to make it or clean it up, I'm happy! Maybe I should turn this blog into a restaurant review blog for the rest of my pregnancy...

BUT, fall is my favorite season for cooking and baking, so maybe my tastes buds will start being my friends again soon. :)

Even with all that said, this homemade applesauce hit the spot!


Cinnamon Applesauce
7 apples, peeled, cored and diced (I used 5 Mackintosh and 2 Honeycrisp)
1 cup (or less) water
1/4 cup sugar
1/2 tsp. cinnamon

Combine all ingredients, and let simmer on medium heat, covered, for about 15 minutes, or until apples are tender. Stir about every five minutes. Mash with a whisk when finished cooking, and enjoy!

A few tips:
  • The sweeter the apples, the less sugar you have to use. Talk to your produce man!
  • I suggest starting with less than a cup of water and seeing if you need more as the cooking goes on. Who wants watery applesauce??
  • As you can see from the pic, I like my applesauce to taste and look homemade, which is why I leave some rustic chunks in. Mash to your desired consistency. :)